Setting up and using OKRs
Setting up the default Success Point Threshold
OKRs system is absolutely not a static combination of goals. In fact, the targets could be set higher than the actual capabilities to encourage breaking the limit. Therefore, the Odoo/ERPOnline OKR app provides 2 types of objectives:
Committed: As the same as the traditional planning methods, the Committed objectives can only be considered successful if it has been 100% completed.
Aspirational: You can set a lower percentage of completed progress as the success threshold (the default number is 0.7, or 70%). The key results could be much more successful than the expectation.
The default threshold could be set for every newly created OKR by accessing the Setting app > OKR > OKR Success Points Threshold. After inputting a proper number (NOT lower than 0 or higher than 1), you can establish it by clicking the Save button.
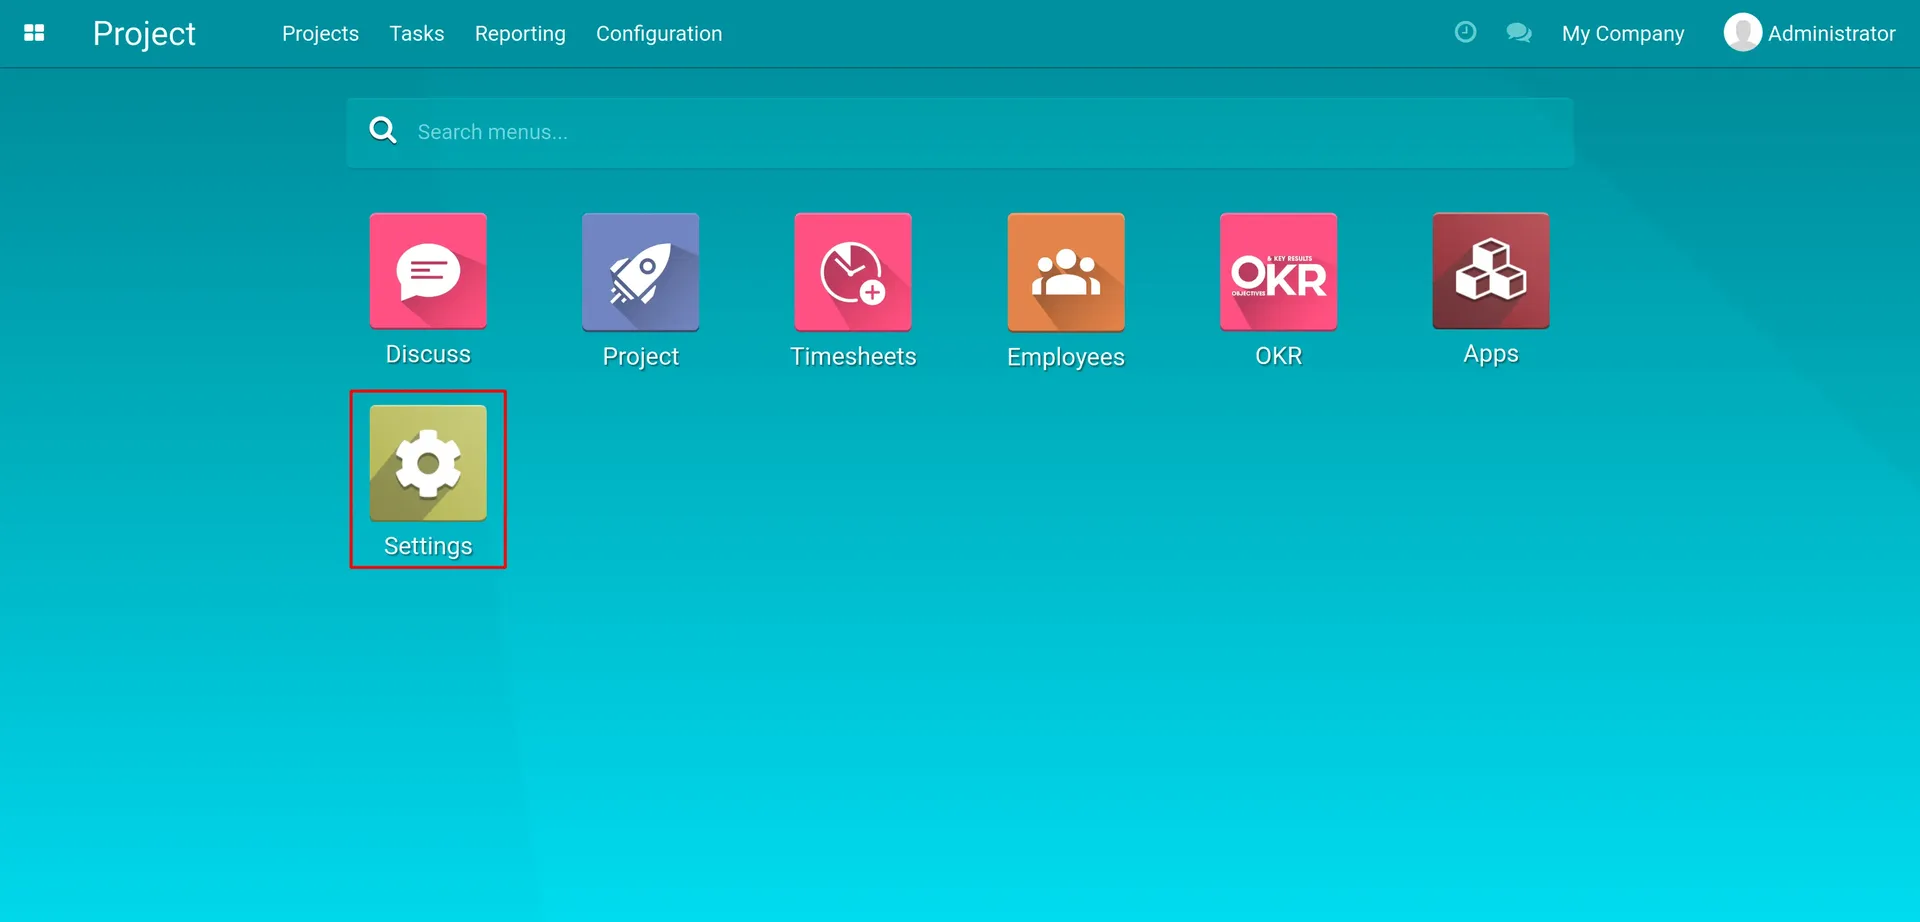
Click on the Settings app to set up the threshold
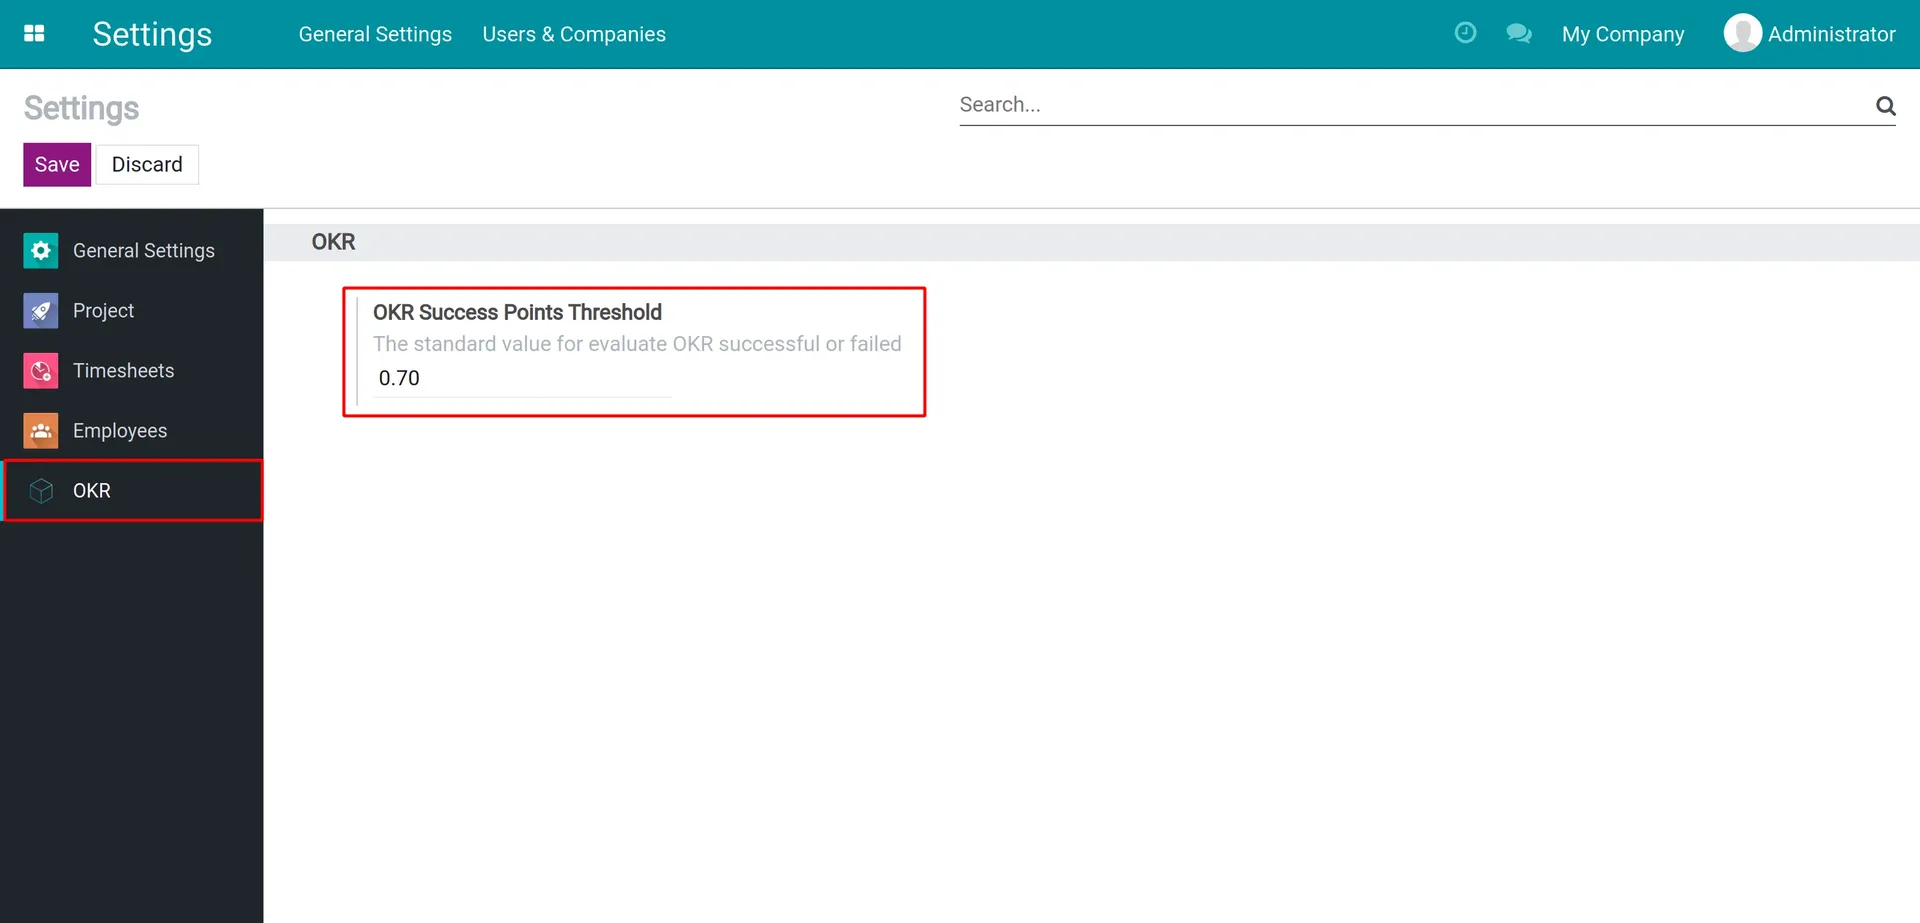
After setting up a valid number for the threshold, click Save
Relationship of OKR nodes
Odoo/ERPOnline OKR uses a hierarchy system, in which the result of a parent objective is calculated by its children key results. The children key results could also be an objective containing smaller results, and so on.
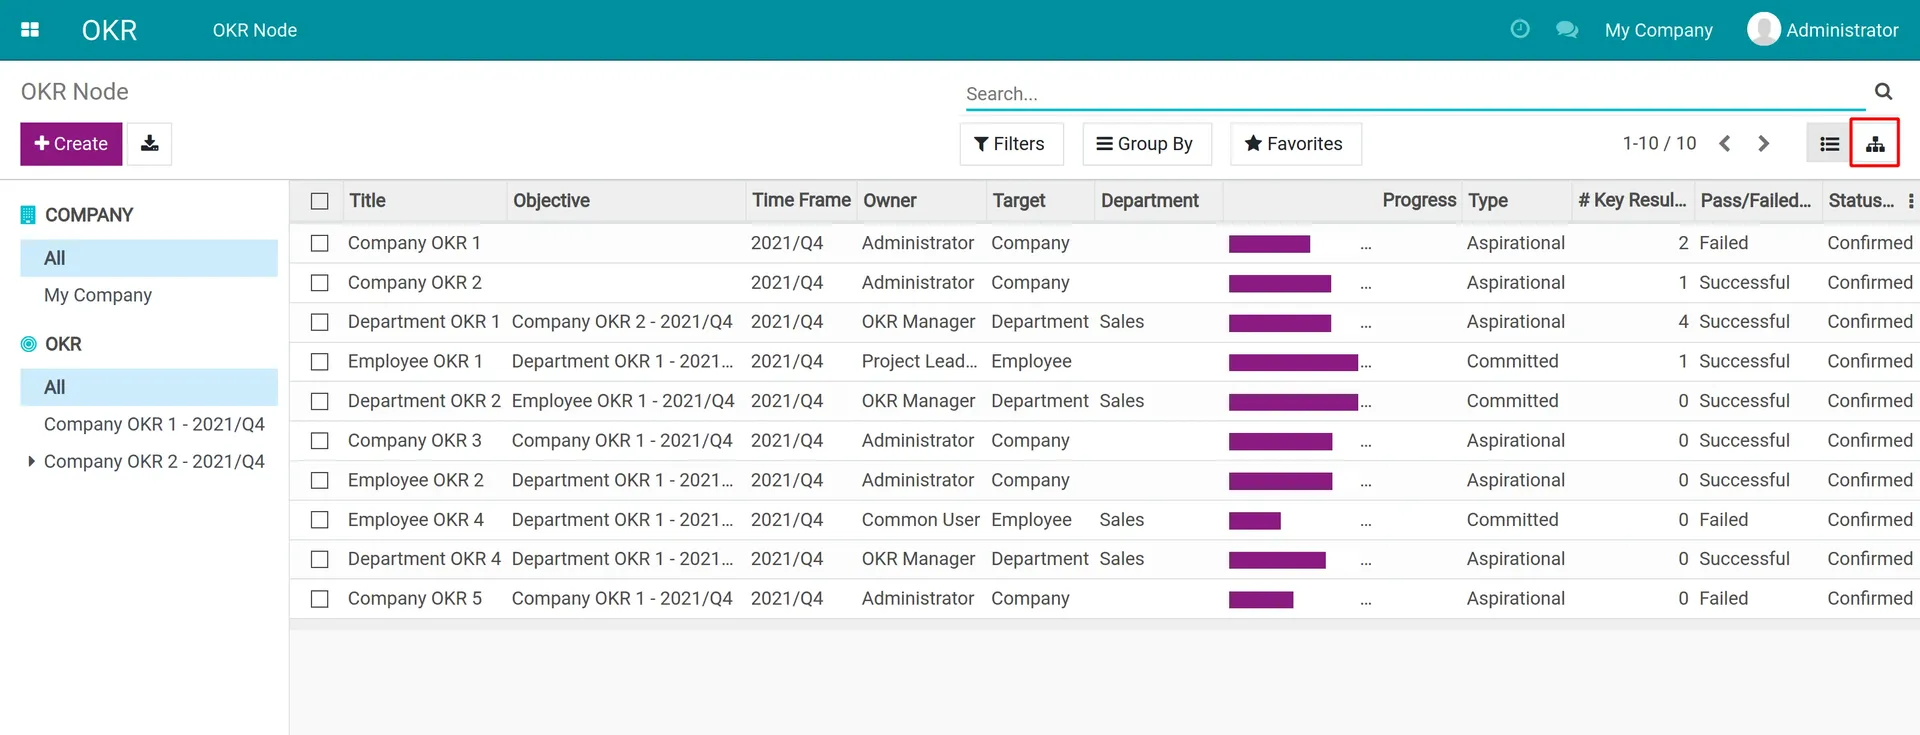
Click on this button to change the view into the hierarchy tree
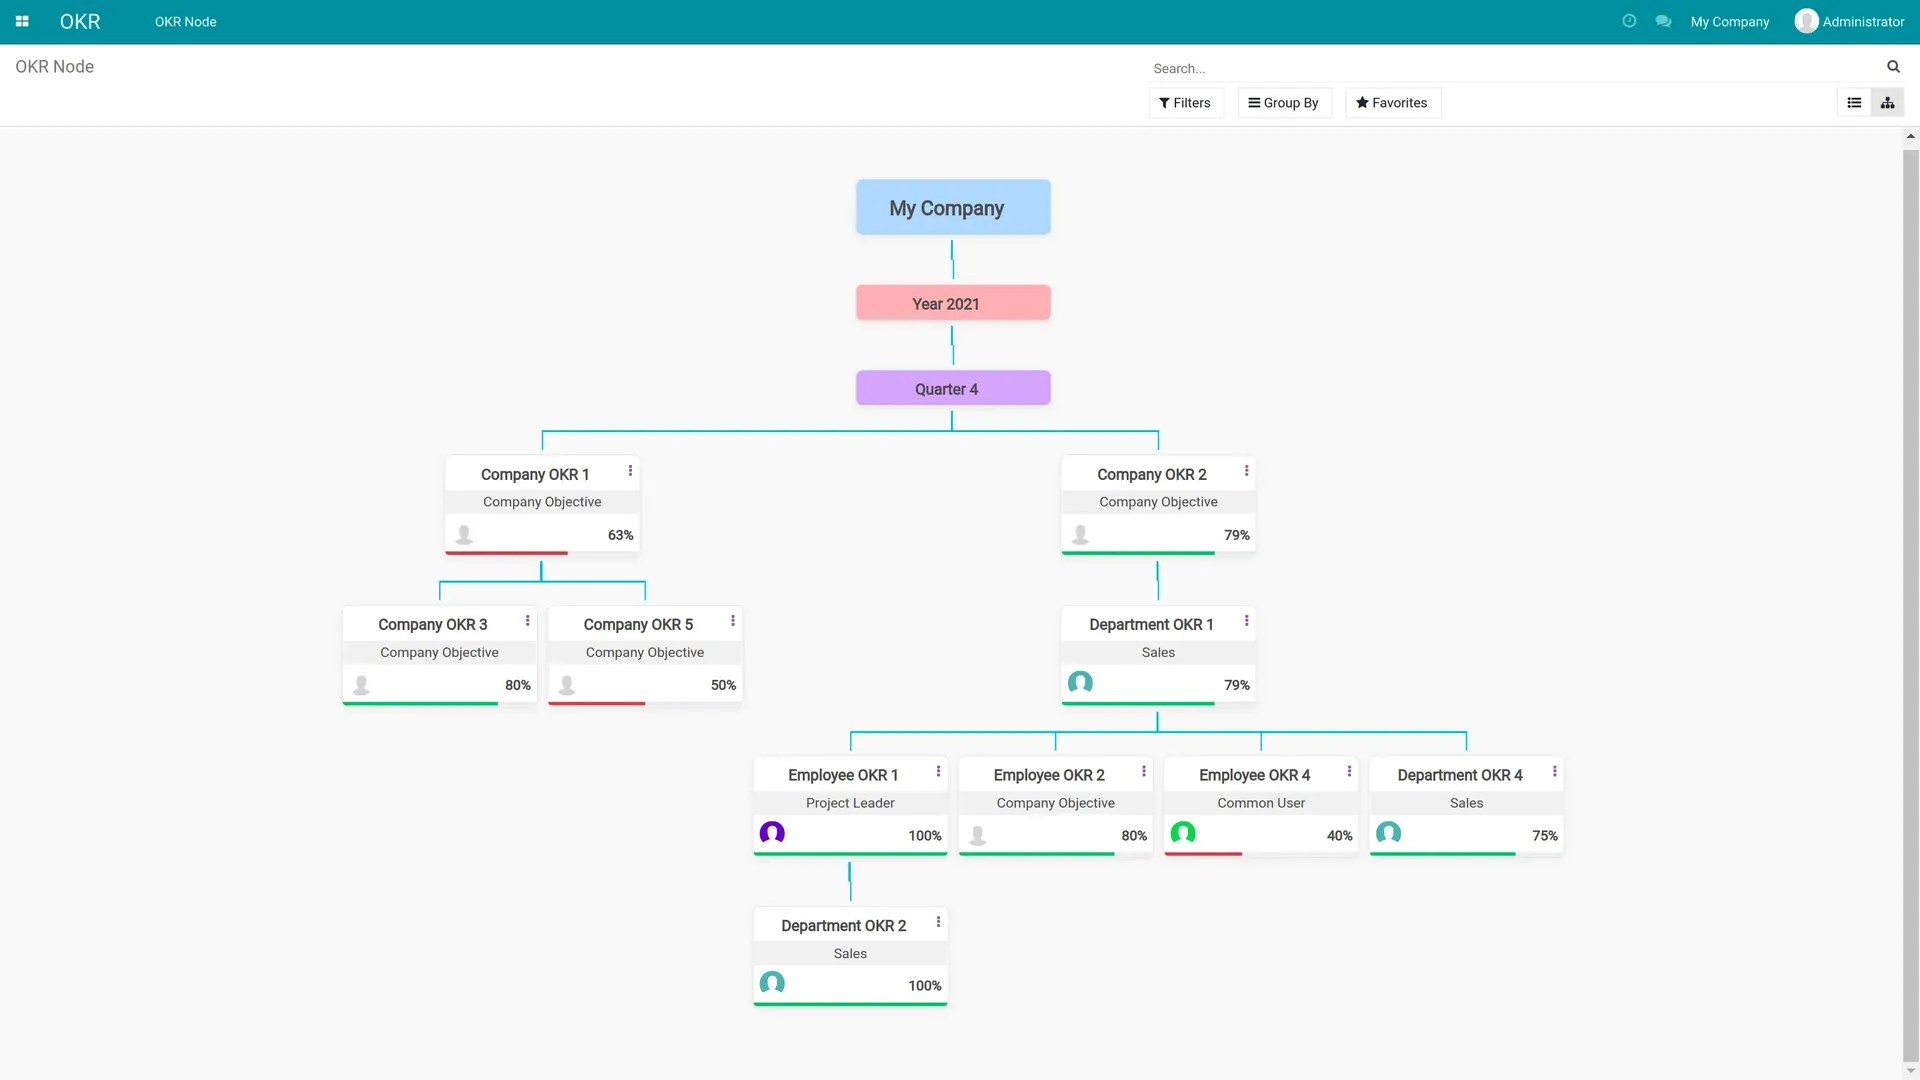
The hierarchy tree of OKRs
Setting up a hierarchy OKR tree
To build up a hierarchy OKR tree, first of all, you need to figure out the base objectives for the whole company in a quarter or a year. These objectives need to be set up before any other key result.
Create the base Objective
Access the OKR app > Create. Fill the new OKR form with the data below (noted that, the purple boxes contain the mandatory fields and have to be filled before saving the node):
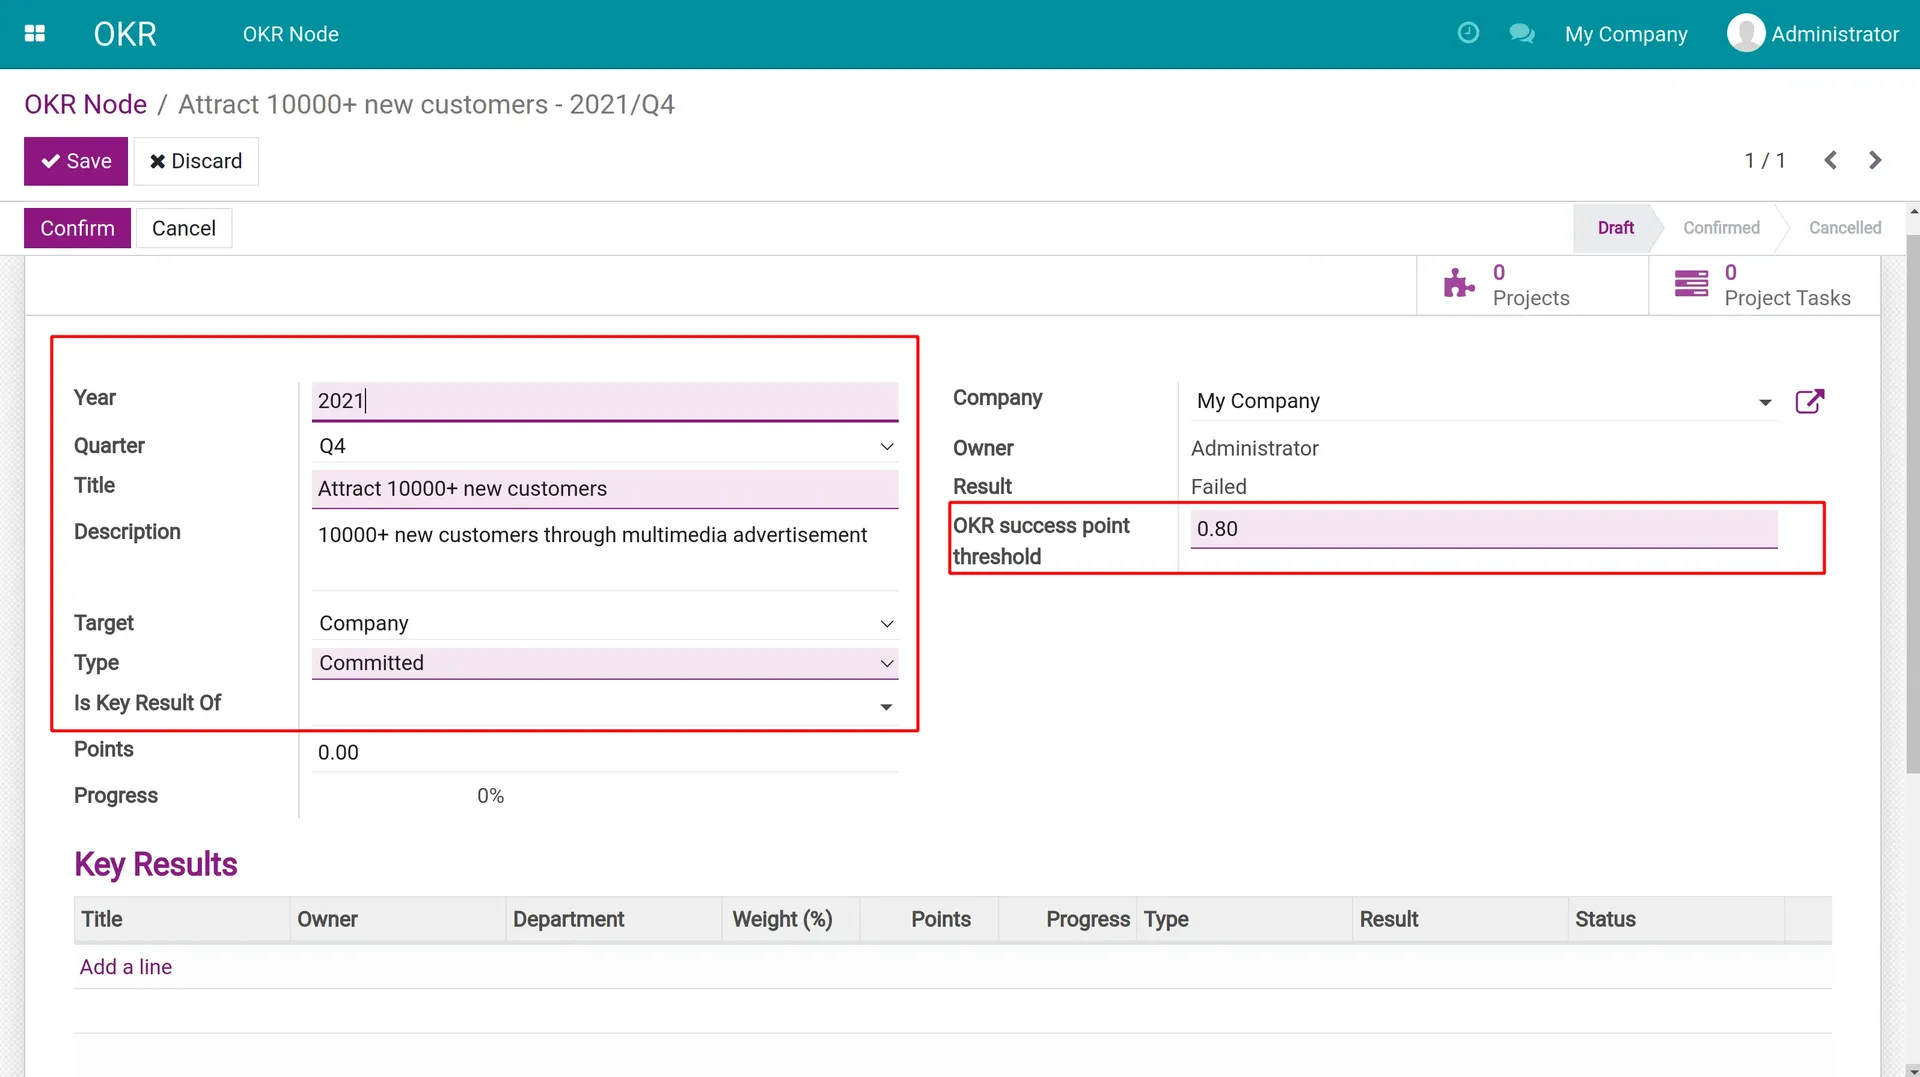
Year: The default data is the current year. You can also make a future plan by changing the year.
Quarter: Set the quarter or leave it blank to make the objective cover the whole year long.
Title: The name of the Objective (e.g: Attract 10.000+ new users)
Description: Short description to clarify the point of the objective.
Target: You can choose between "Company", "Department" or "Employee".
Choose the "Company" choice to apply this objective to the company.
If you choose the "Department" or "Employee" as the target, you can appoint a specific department or an employee as the owner of this objective. These ones suit the lower level Key Results that will be set up later.
Is the key result of: Appoint a parent objective for this OKR node. Simply leave it blank.
Points and Progress: You could input the number on the "Points" box, but shouldn't. The result of this OKR node should be automatically calculated by the points of its results by this formula:
The progress of the Objective = ((Key Result 1's points)*(Key Result 1's weight) + (Key Result 2's points)*(Key Result 2's weight) + ...)/(Total weight of all Key Results)
OKR Success Point Threshold: You can set a different threshold for this particular OKR than the default number of the company. The threshold only affects this OKR node (indeed, only work if the OKR type is Aspirational)
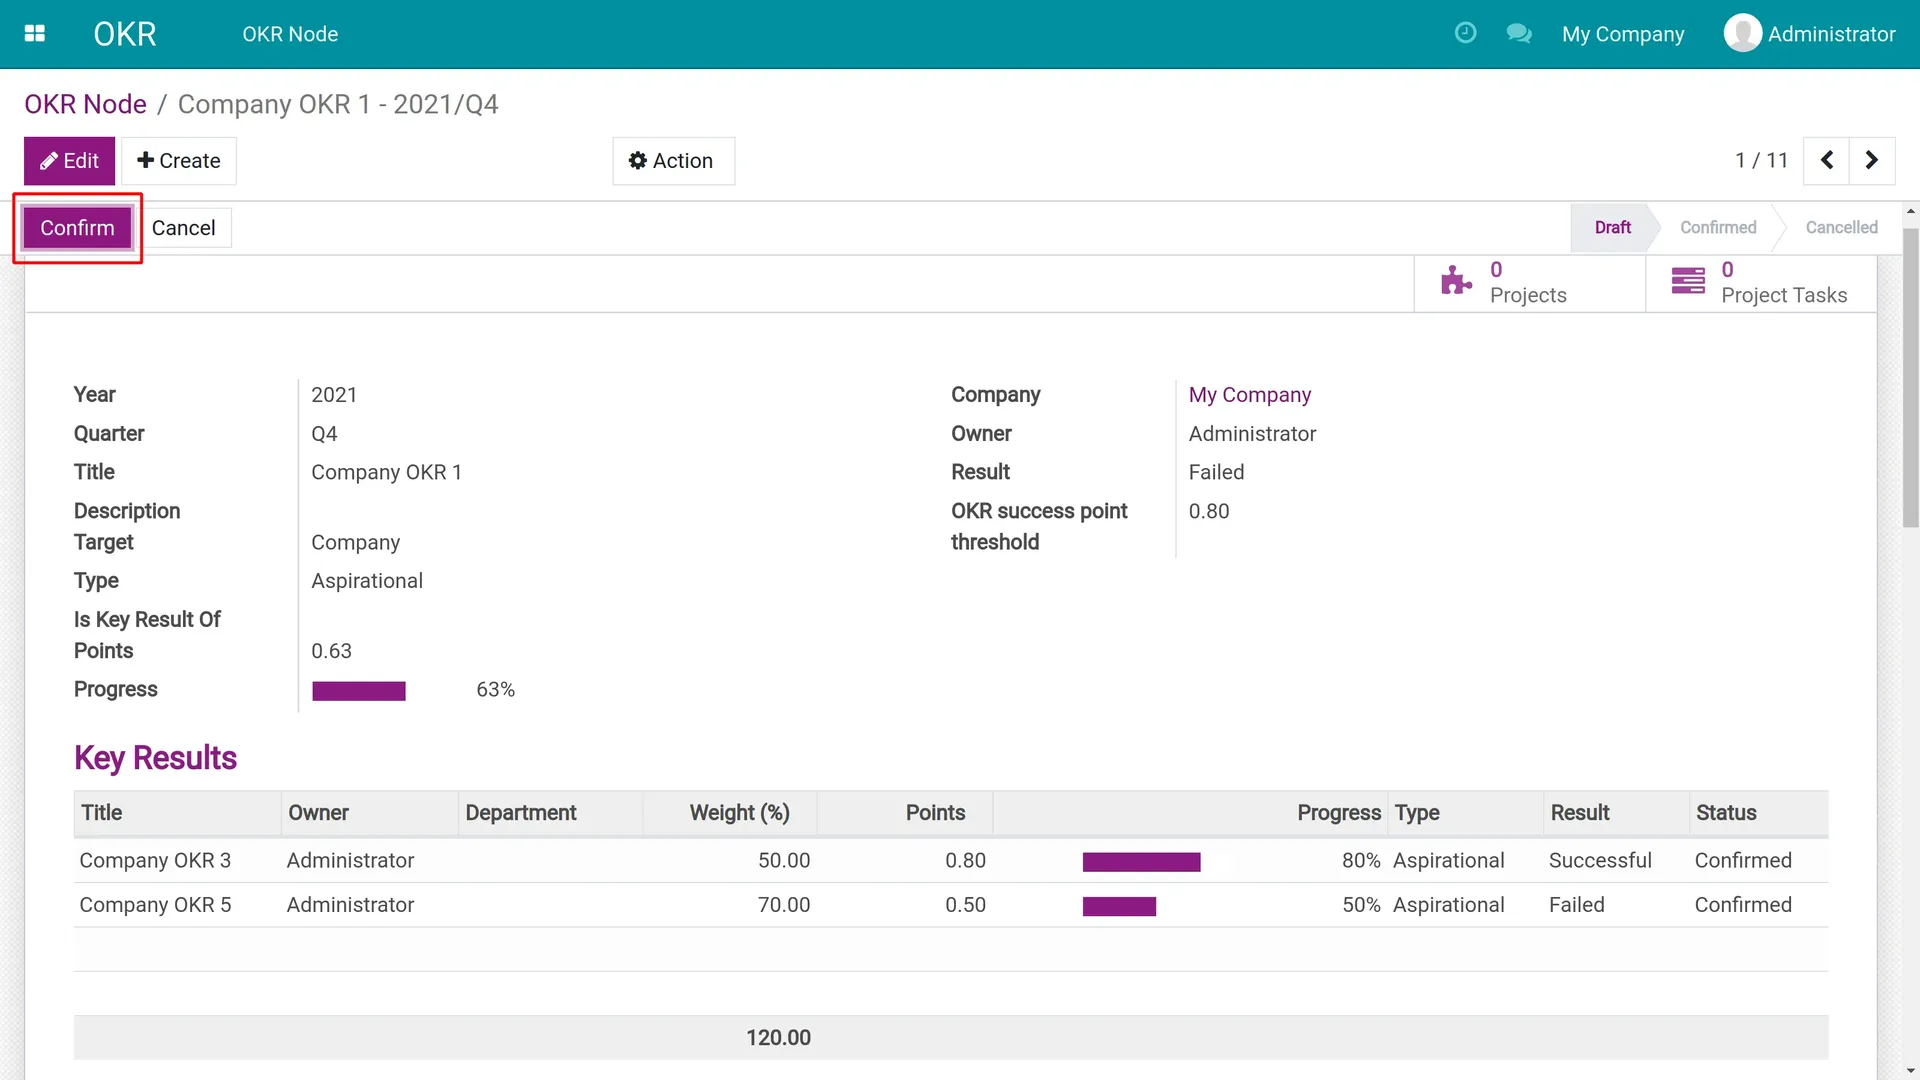
After setting up the base objective, press the Save button. If you want to make the OKR node effective, press Confirm. The state of the node would be changed to "Confirmed" (as in the image above). You should create all the base Objectives that do not relate to each other (e.g: "Attract 10.000+ new customers" and "Build a friendly working environment"). If they do, you should make the lower level Objective to be a Key Result for the higher one, as in the following guidance.
Add Key Results to an Objective
You can add more Key Results for this Objective. First, click the Edit button to turn on the Edit mode. Click on the "Add a line" button, a wizard window will pop up with the following interface:
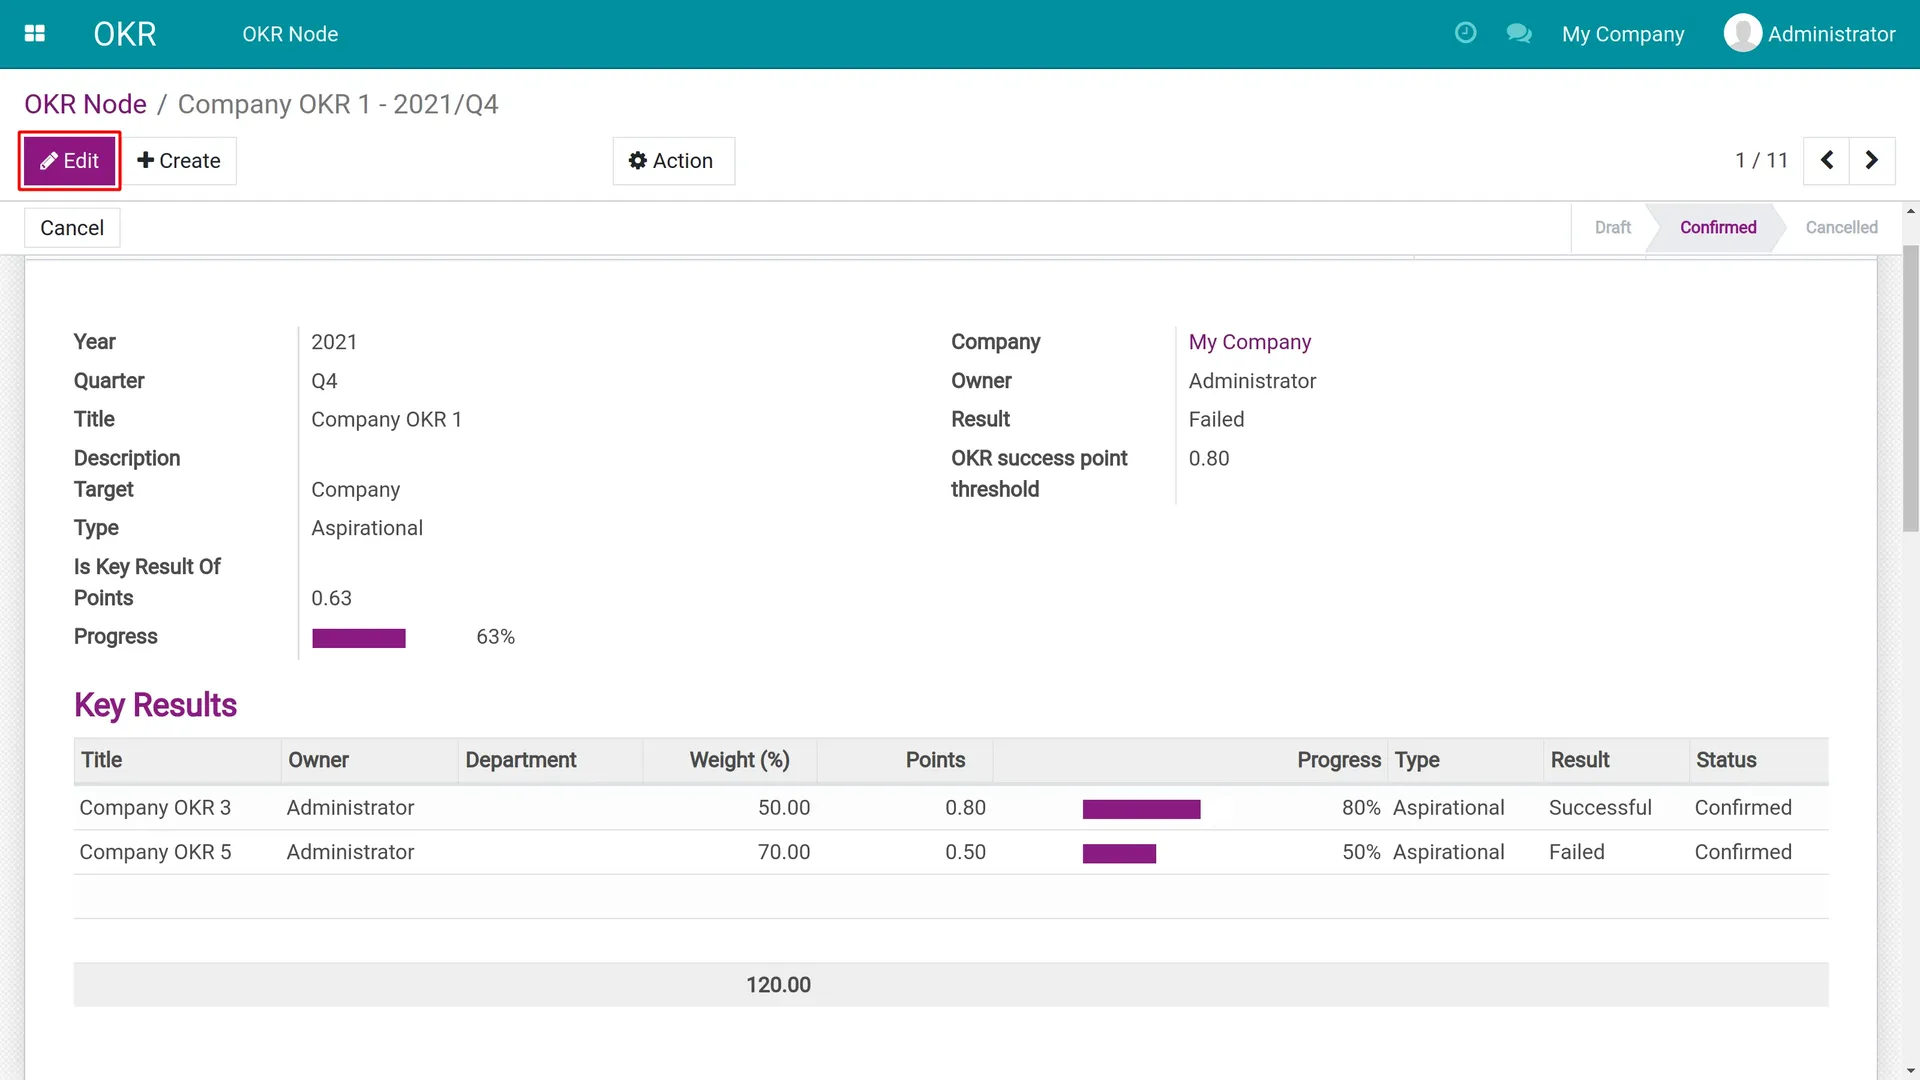
Turn on the Edit mode by clicking on this button...
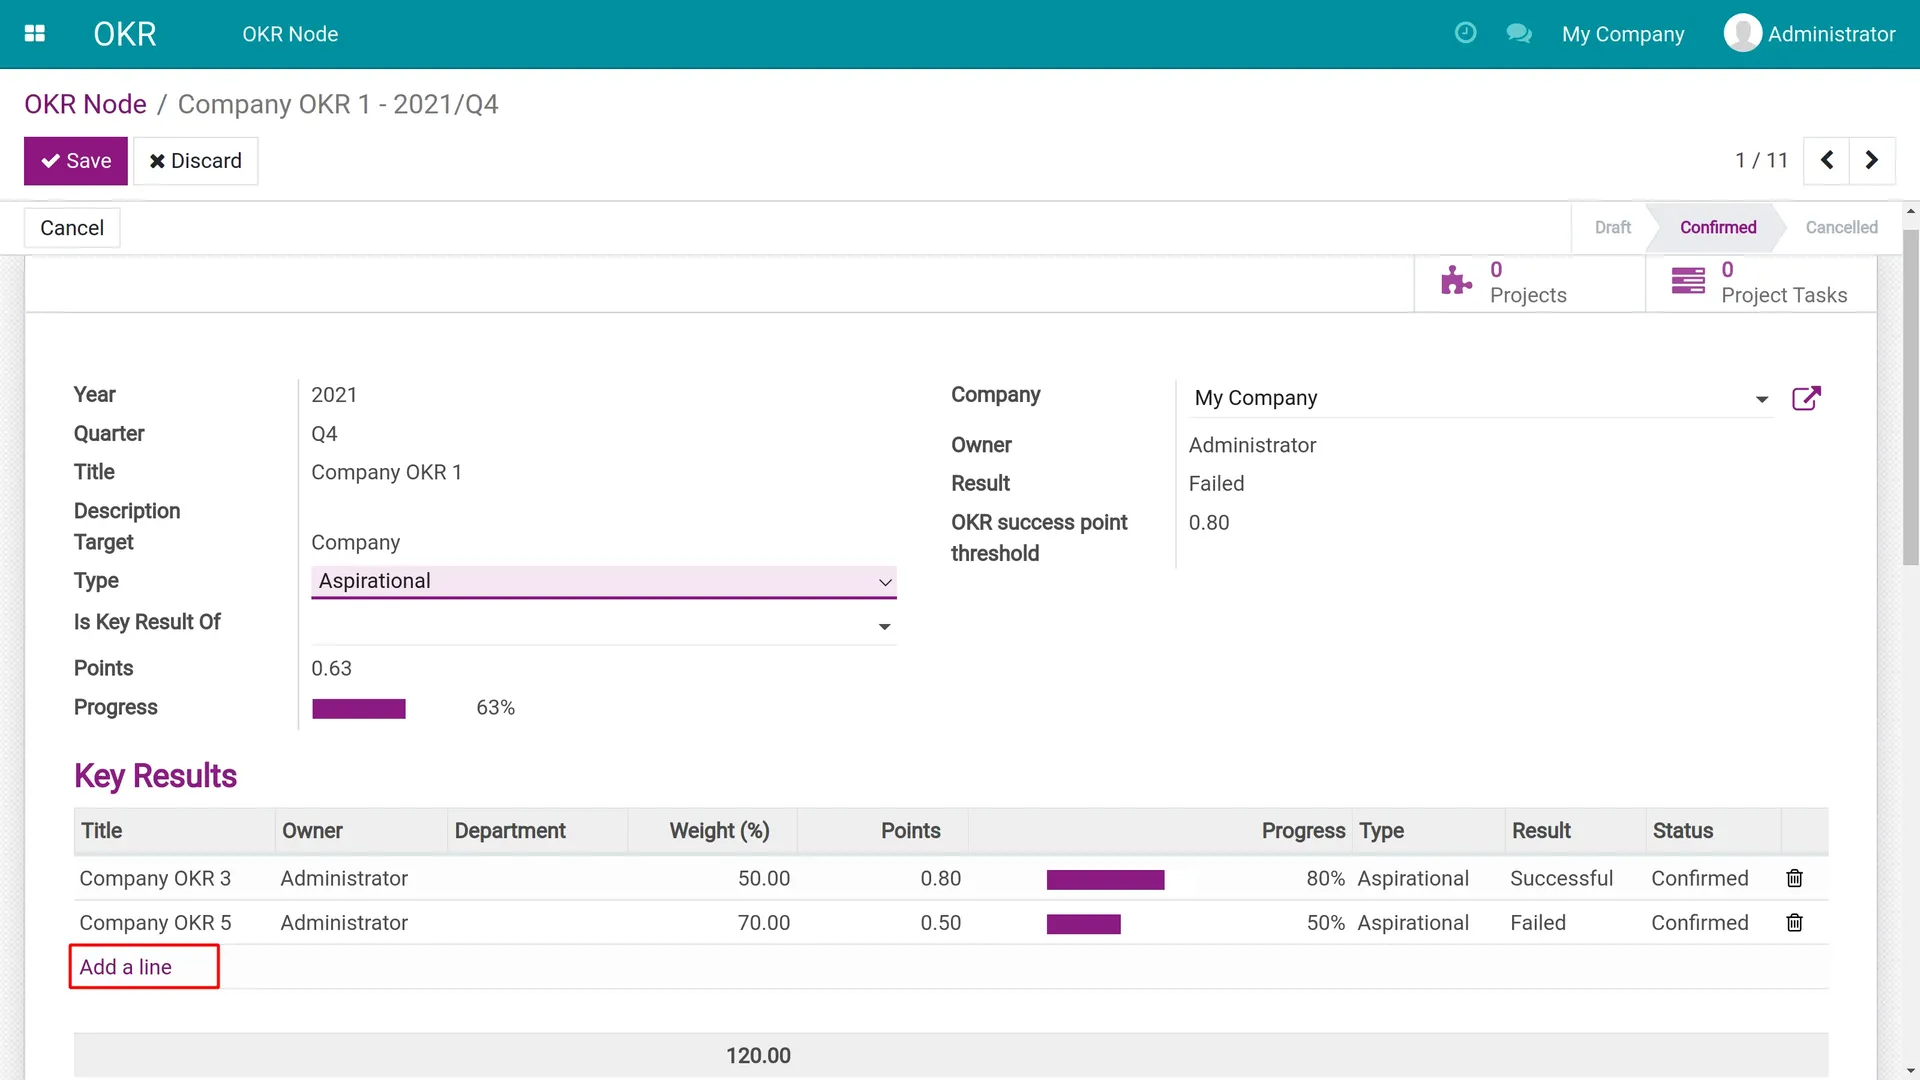
...and click Add a line to set up a new Key Result
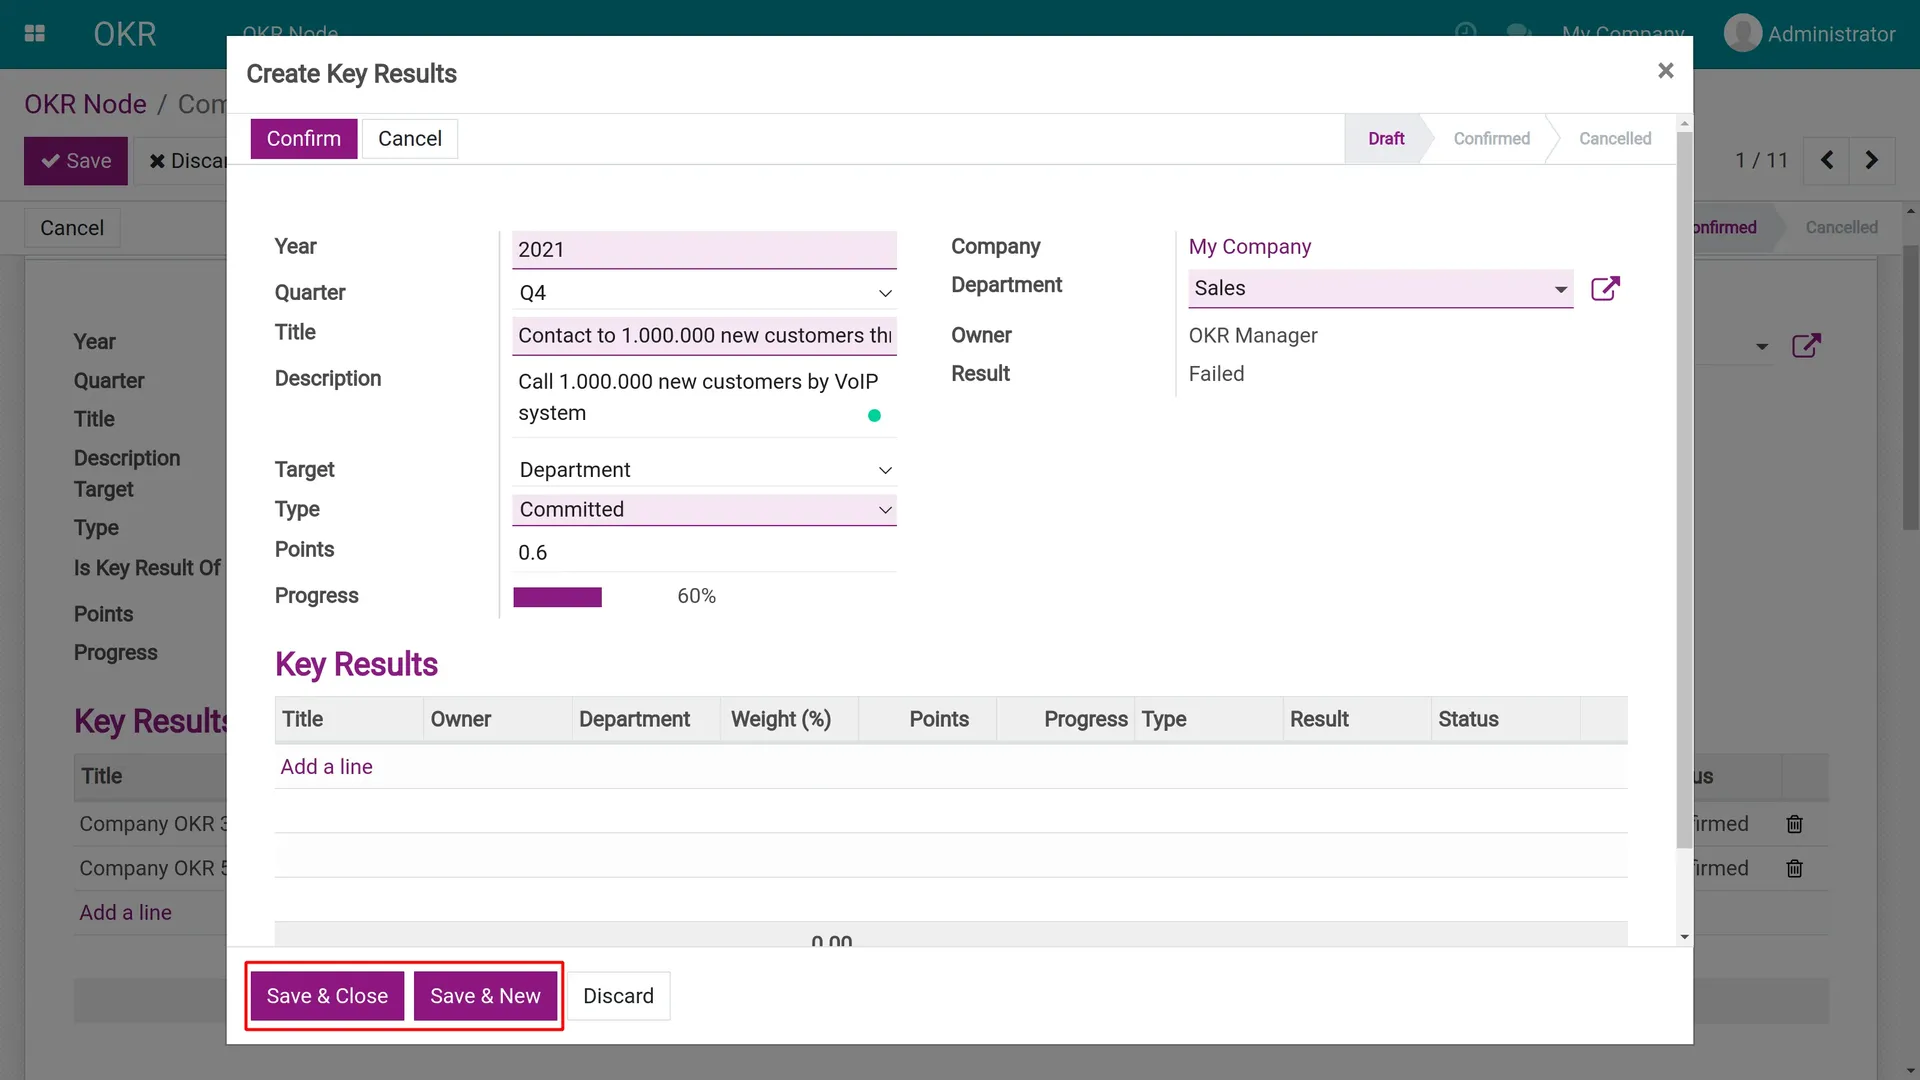
The pop-up window has the same fields as the Objective form. Fill these pieces of information and click on "Save & Close" ("Save & New" instead if you want to create more than one Key Results)
To put the weight on this Key Result, you need to save and close both the pop-up and the OKR node. Turn on the edit mode and the Key Result again, you will find a new field appearing on the pop-up:
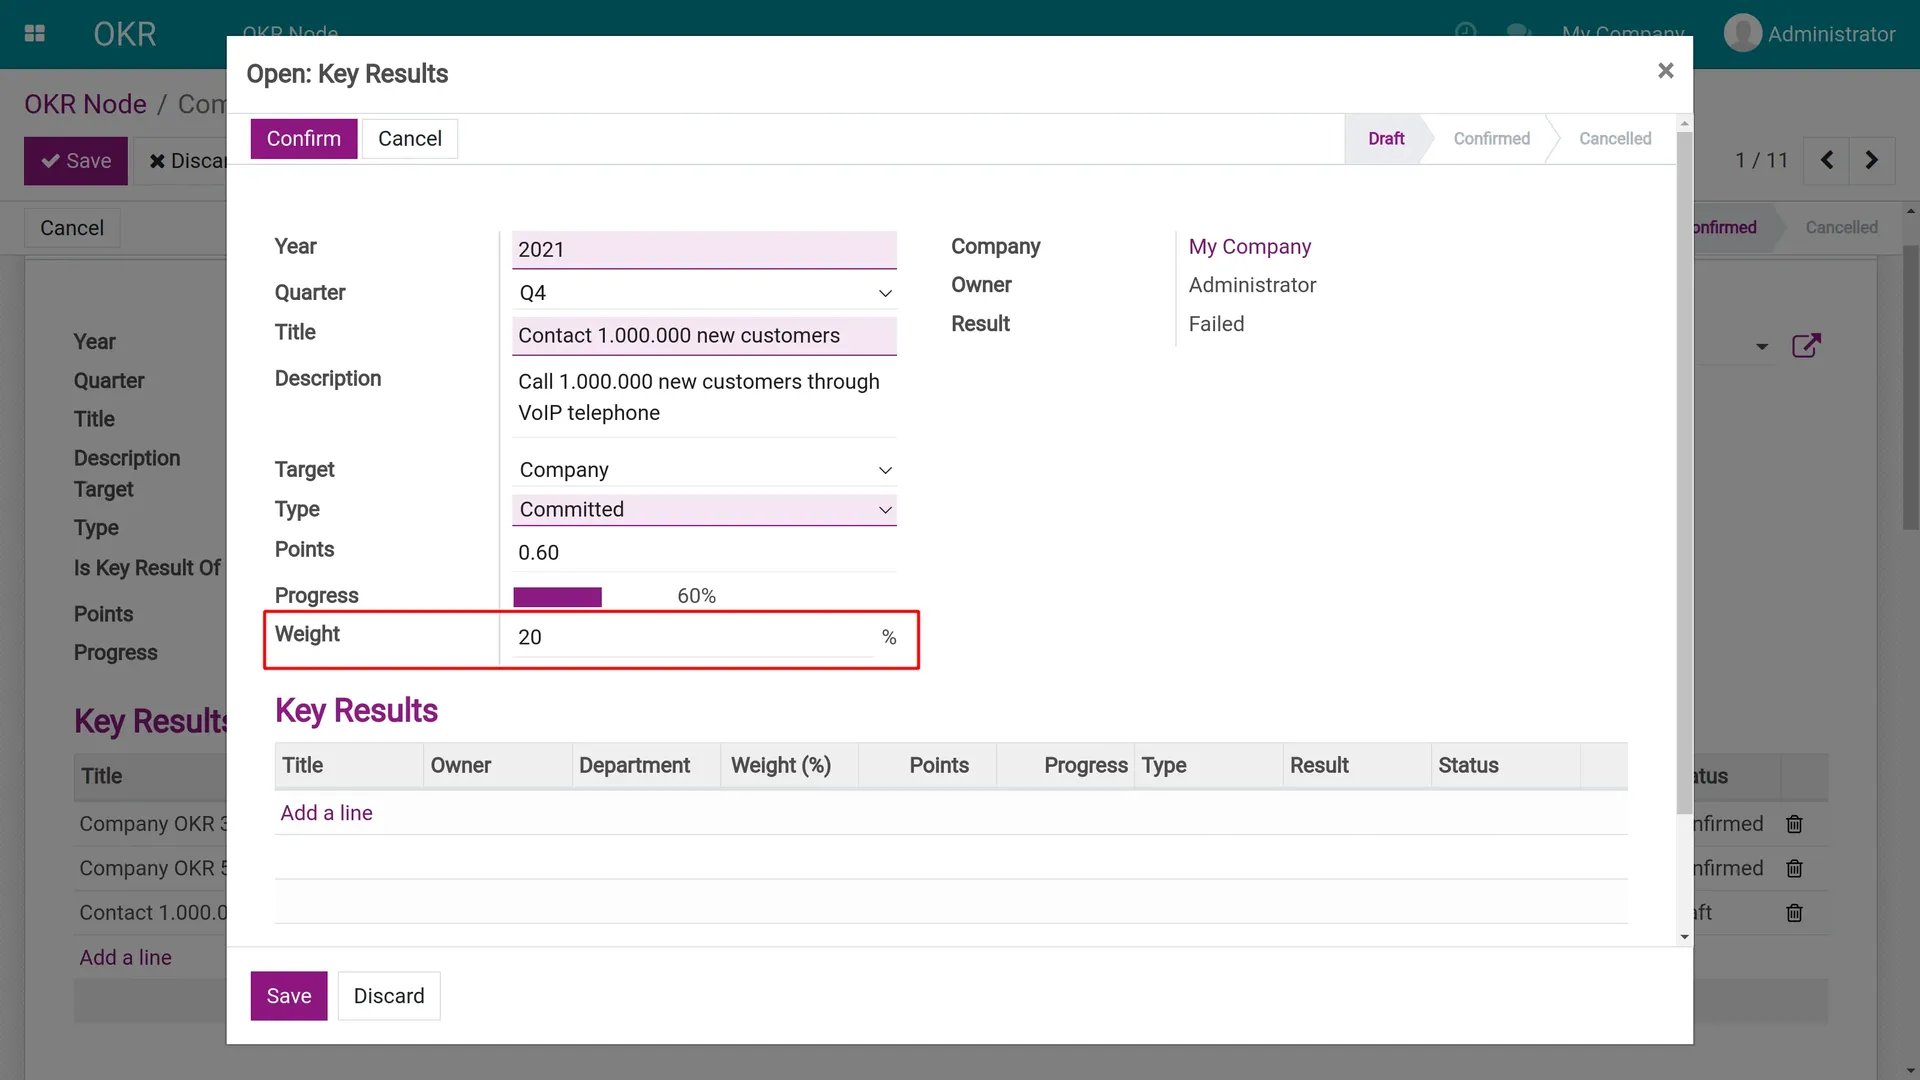
Input a valid weight (more than 0), then click Confirm
After the confirmation, the progress of the Objective would be automatically calculated and shown in the chart like this:
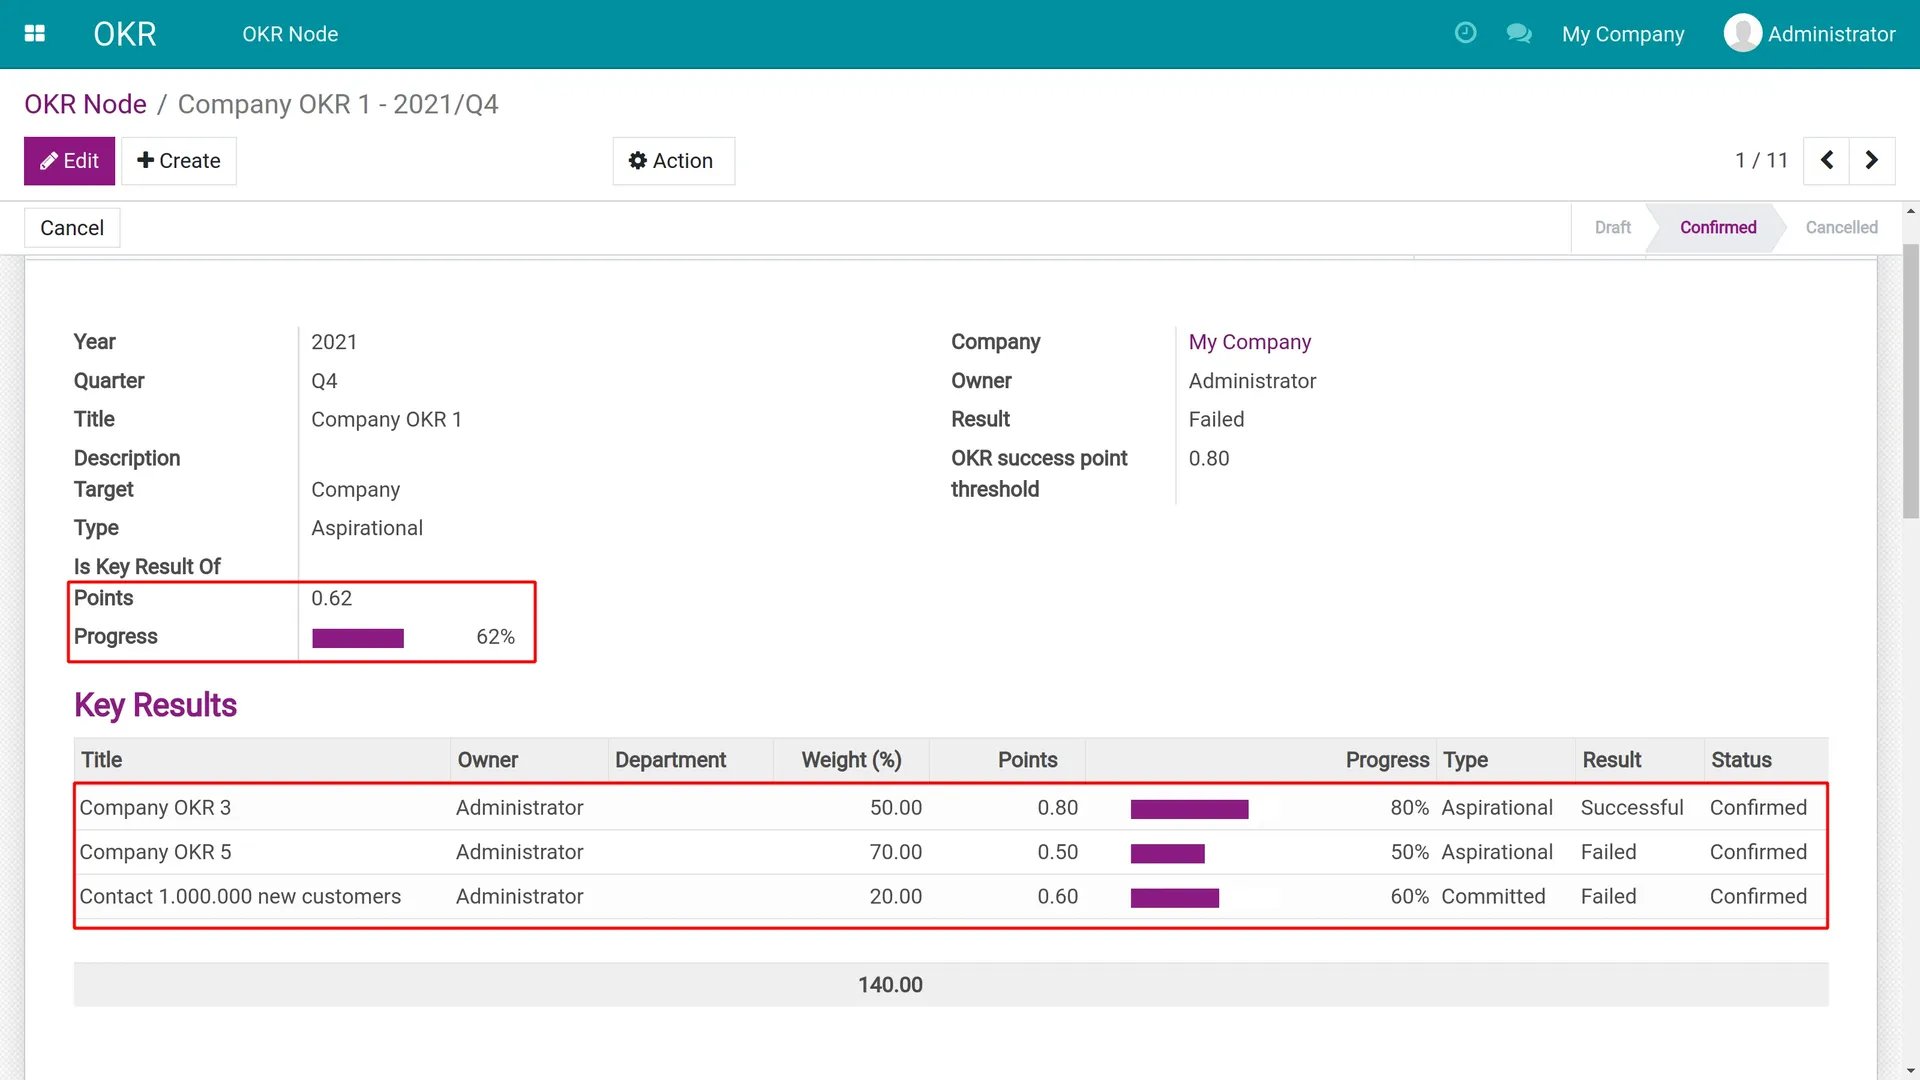
Notice that only confirmed Key Results will affect the final result of the Objective. The total weight could exceed 100% (as in the image is 140%)
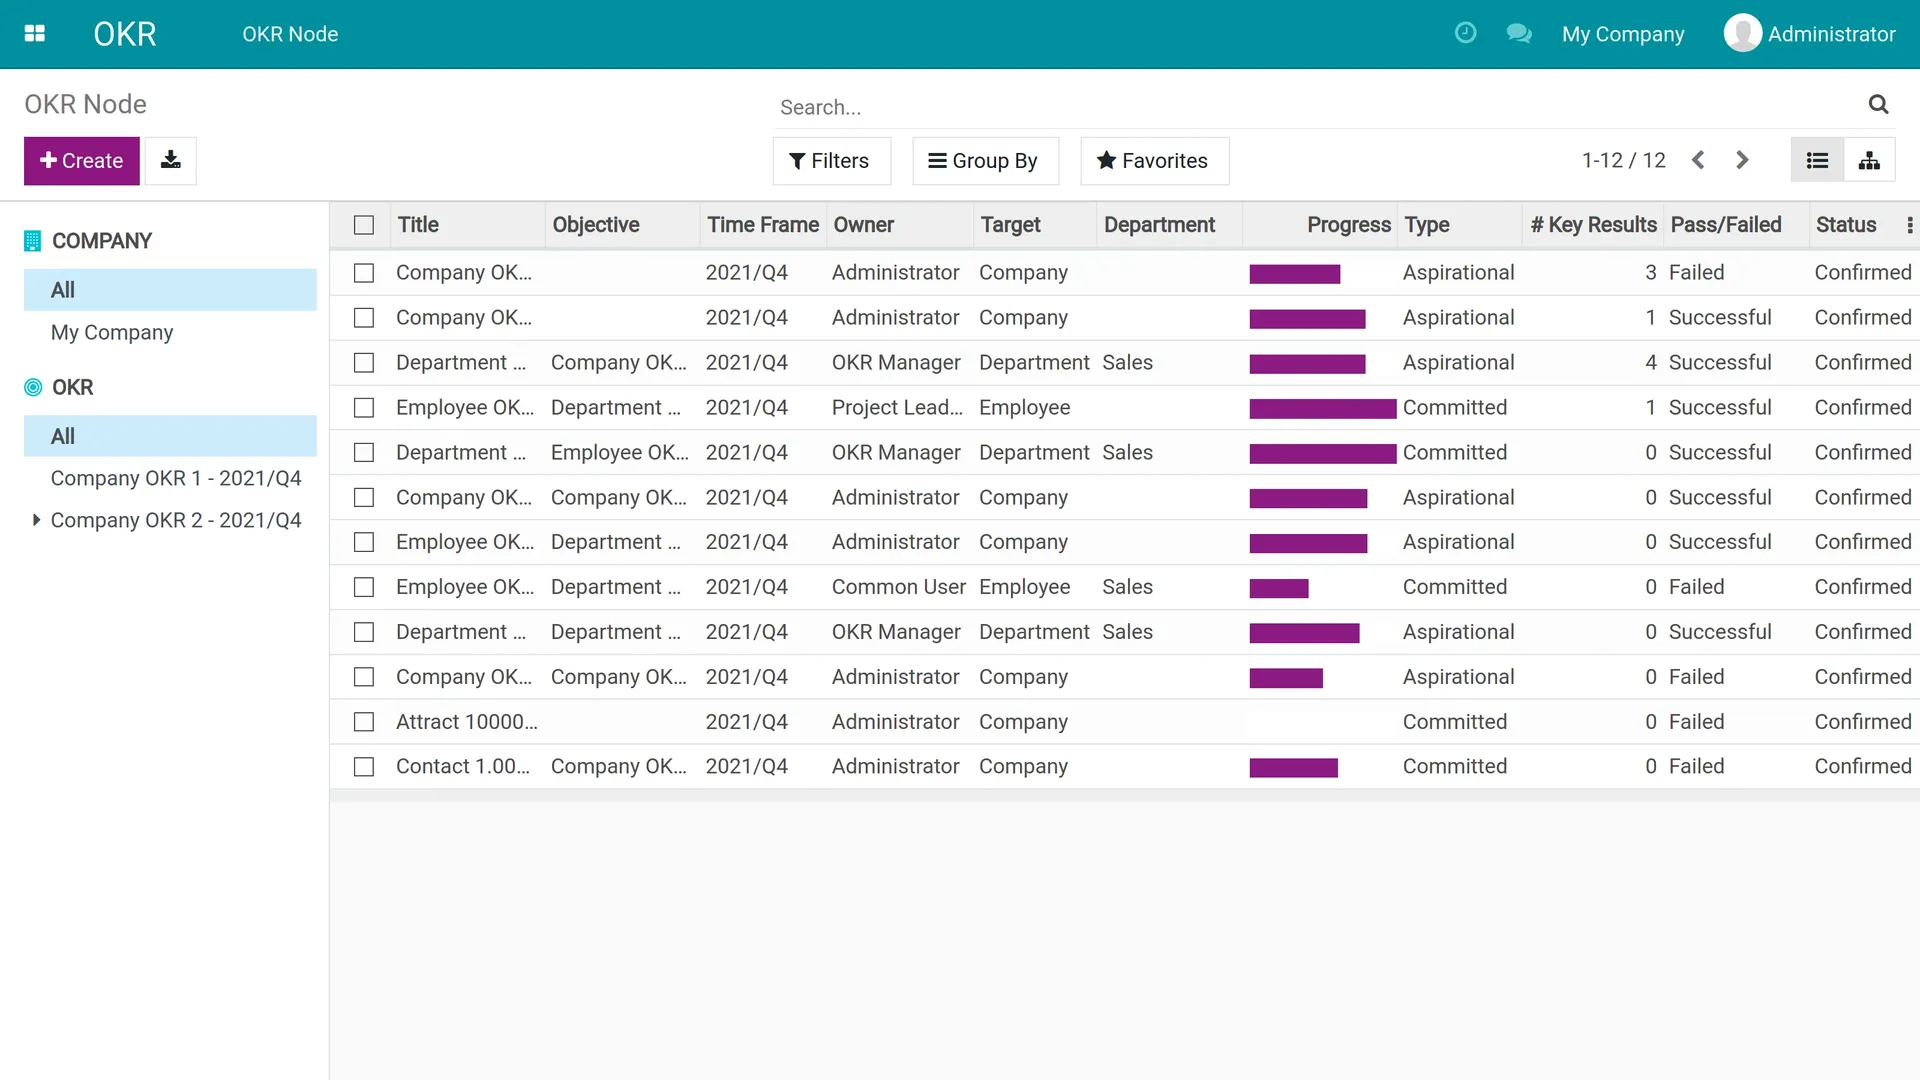
The progressing charts are shown in the default list view
